Maintaining a clean email list is crucial for successful cold email campaigns. Manyreach's Global Blacklist feature helps you prevent sending emails to specific addresses or entire domains that you want to exclude from all your campaigns. This guide will walk you through setting up and managing your blacklist effectively.
Access the Blacklist feature
Navigate to the left sidebar menu in your Manyreach dashboard
Scroll down and click on Account Settings
Select the Blacklist tab from the top navigation menu
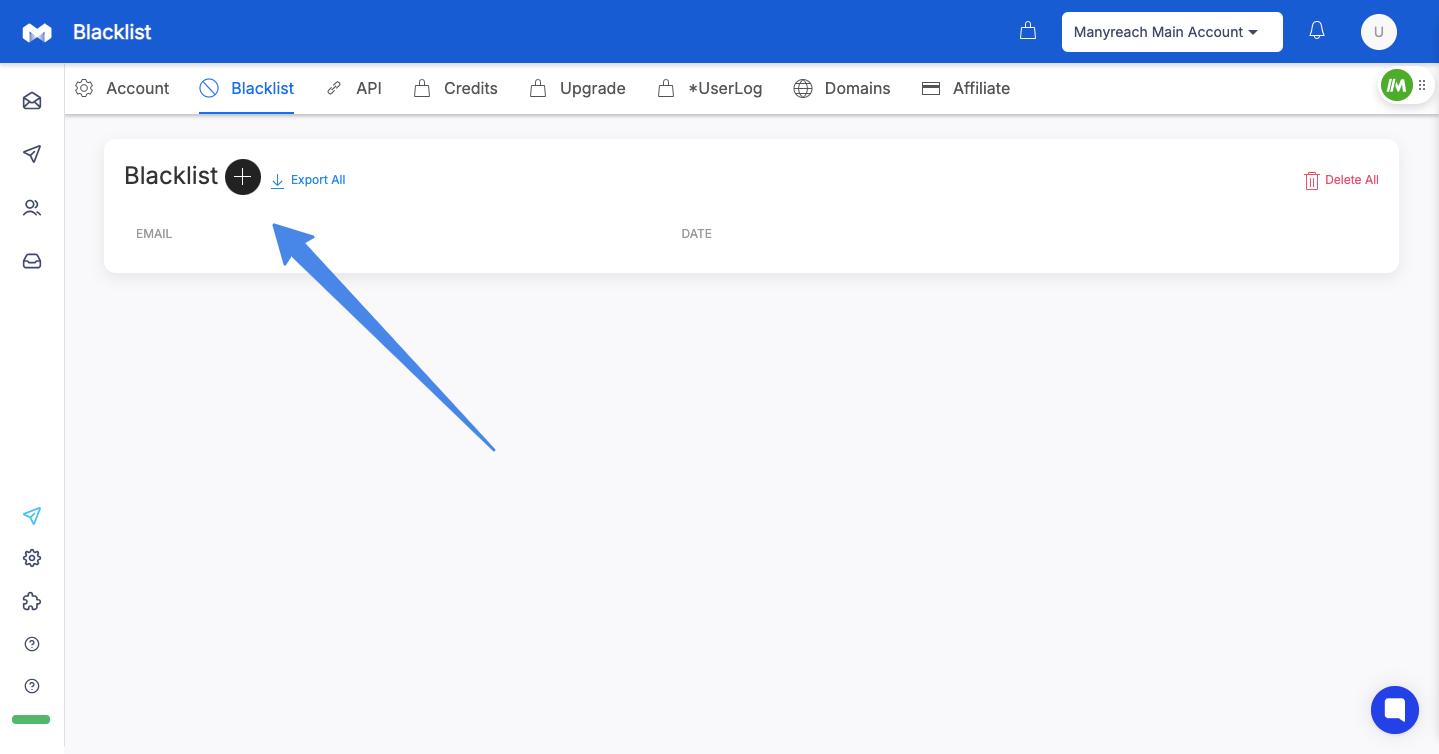
Add individual email addresses or domains
Click the + (plus) icon next to the Blacklist heading
In the popup dialog, enter the email address or domain you wish to blacklist
To blacklist an entire domain, use the format @domain.com (for example, @competitor.com)
Click OK to add the entry to your blacklist
Add multiple entries in bulk
Click the + (plus) icon next to the Blacklist heading
In the popup dialog, enter multiple email addresses or domains, with each entry on a new line
Click OK to add all entries to your blacklist
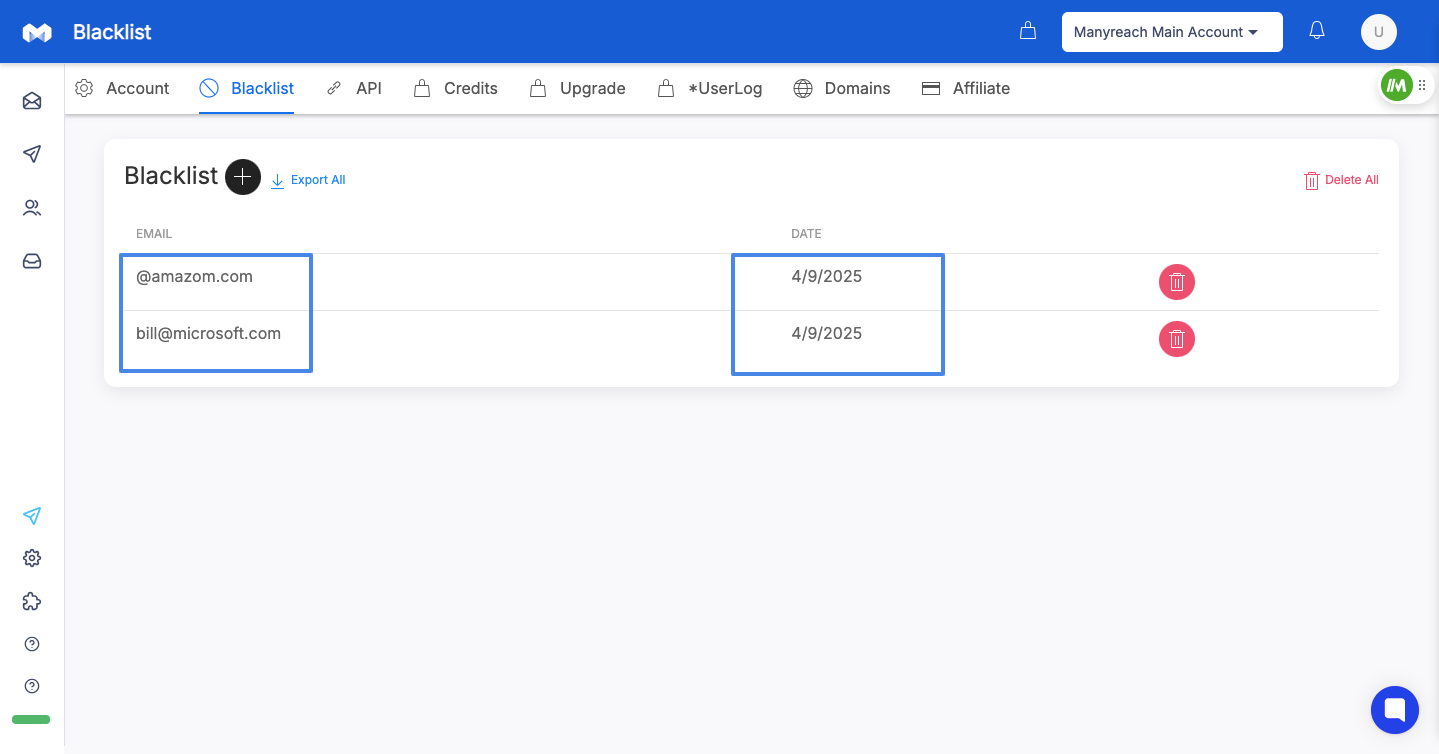
View your blacklisted entries
All blacklisted emails and domains appear in a table with the date they were added
You can quickly scan this list to see what's being excluded from your campaigns
Remove entries from your blacklist
To remove a single entry, locate it in the list and click the Delete (trash icon) button in that row
To remove all entries at once, click the Delete All button at the top right of the blacklist table
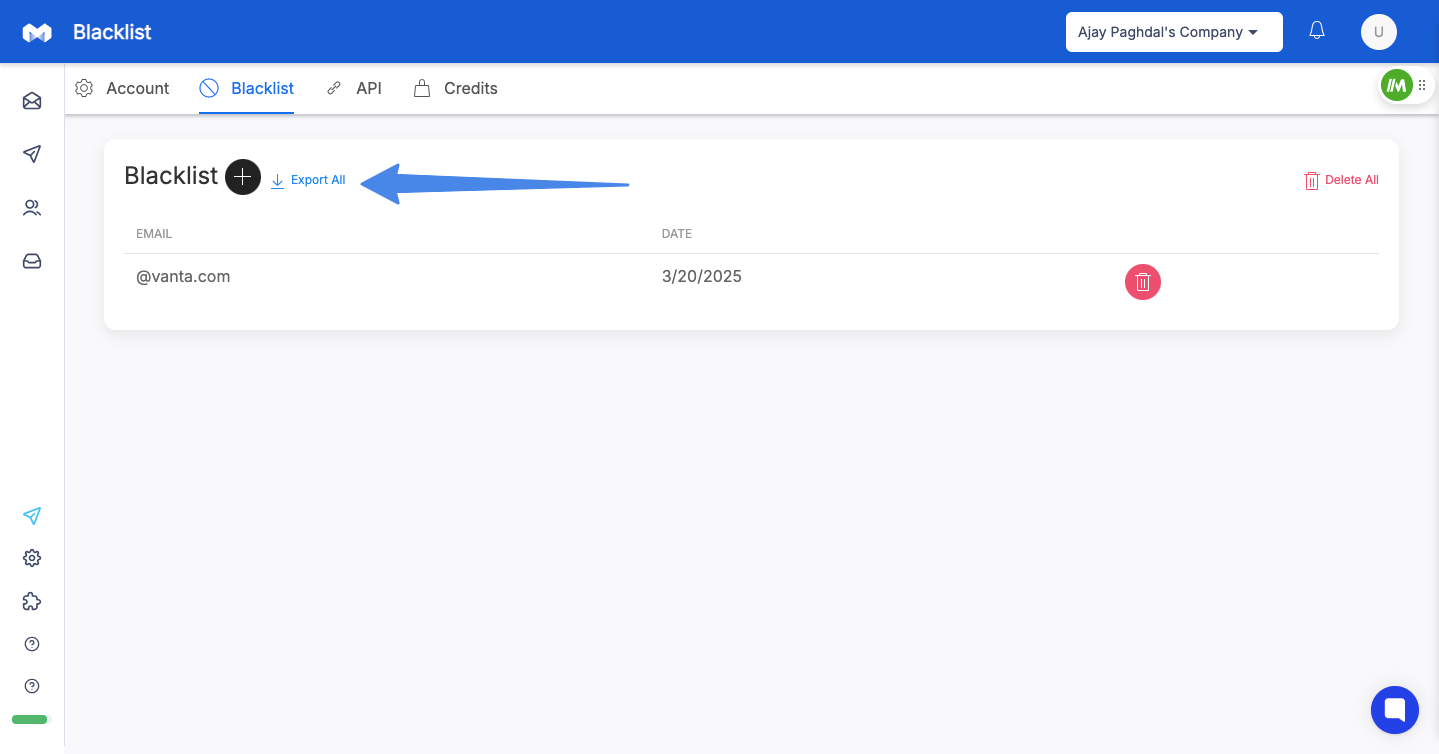
Export your blacklist
To export your entire blacklist for backup or reference, click the Export All button
This will download a CSV file containing all your blacklisted entries
Remember: Blacklisting a domain using the @domain.com format will prevent emails from being sent to ALL email addresses associated with that domain. Make sure this is your intention before blacklisting an entire domain.
Important Note: The Global Blacklist applies to all campaigns across your Manyreach account. Entries added here will be excluded from all current and future campaigns.
Issue: Email was blacklisted but still received a campaign email
Verify the email address was entered correctly in the blacklist (check for typos)
Remember that campaigns already in progress might have queued emails that were scheduled before the blacklist entry was added
The blacklist only prevents new emails from being scheduled, not ones already queued
With Manyreach's intuitive blacklist feature, you can effectively manage your sending preferences and ensure your campaigns only reach the intended recipients, improving both deliverability and campaign performance.
